Manual.ly Logo

Vitavia Stad Manuale

0,0 · 0 Valutazioni

Manuale PDF · 68 Pagine

Italiano

M: OA-GPT-5-NAN
pagina

/ 68

Loading...
bba2d987289f5bc212d48cf51cdda445fff1 page c
12
VM0059-UG1
0098.01.2211
Safety Warning / Assembly Instructions
EN
1. 
2. Sharp edges and corners can cause injury. Always wear protective glasses, gloves, shoes and headgear when handling the aluminium proles, glass and polycarbonate
sheets. Broken glass is a safety hazard – always clear up immediately and dispose of with care.
3. The product you have purchased is intended only for growing plants and should only be used for this purpose. When used for other purposes we will take no responsibility.
4. It is recommended that this greenhouse is assembled by two people.
5. Should you encounter difculties constructing this house, or in tting the glass or polycarbonate sheets, please contact your retailer
– 
6. The greenhouse must always be anchored.
1. 
2. Bei der Handhabung von Glas, Polycarbonatplatten oder Gewächshausteilen sind immer eine Schutzbrille, Handschuhe, Sicherheitsschuhe und ein Kopfschutz zu tragen,
da scharfe Kanten zu Verletzungen führen können. Gebrochenes Glas ist ein Sicherheitsrisiko. Beseitigen Sie es mit der gebotenen Vorsicht.
3. Das von Ihnen erworbene Produkt ist für die Aufzucht von Panzen konstruiert und sollte auch ausschließlich dafür genutzt werden. Bei anderweitiger Nutzung ist jegliche
Haftung ausgeschlossen.
4. Für die Montage dieses Produktes sind zwei Personen erforderlich.
5. Sollten Sie beim Montieren des Hauses oder beim Einsetzen der Verglasung Schwierigkeiten haben, dann setzen Sie sich bitte mit Ihrem Händler in Verbindung
– 
6. Das Gewächshaus muss verankert werden.
Sicherheitsvorkehrungen / Aufbaubeschreibung
DE
0-3


: Always try to select a sunny location, sheltered from the wind as much as possible.
 Before assembling your new greenhouse, please check that all parts in the provided list are included. Please take each bundle out of the packaging in order
to identify the parts better. It is important that the opened bundles do not get mixed with one another.
If something is missing please contact your retailer.
= Is not included in carton!


 The greenhouse should be thoroughly washed with a gentle detergent occasionally. Please check that the detergent used does not react aggressively with
aluminium.
Ensure that the door tracks are cleaned regularly to avoid a build up of debris.
 : The base must be exactly square and level.
Foundations must extend down below the frost level.
 Place the warning label inside the house.
For plant breeding sealed joints are not necessary. If desired, it is possible to seal the greenhouse at the edges using neutral silicone. Silicone is not included.
A full range of accessories is available to help you make the most of this product. Please contact your local stockist for details.
 Do not climb onto the roof surfaces. There is a danger of falling.
In the event of high winds, close all doors and vents.
In the event of heavy snowfall, clear the roof of the building or take suitable measures to support the roof. Heat the building in winter.
 For the complete protection of your new greenhouse, we advise you to include it in your house insurance. Please take note of possible building rules relating
to the position ing of greenhouses.
Please stick the greenhouse model label pro vided onto the part (3511) after successfully assembling this product. This information is important in the event that replacement
parts are later required. Please keep these Assembly Instructions in a safe place, for future reference!
Our policy is one of continuous improvement and we reserve the right to change the specications without prior notice.
 Suchen Sie den sonnigsten, aber gleichzeitig einen windgeschützten Platz aus.
 Bevor Sie mit der Montage Ihres Gewächshauses beginnen, überprüfen Sie, ob alle in der Liste aufgeführten Teile vorhanden sind. Nehmen Sie die einzelnen
Bündel aus der Verpackung, um sie besser identizieren zu können. Es ist wichtig, dass die geöffneten Bündel nicht durcheinander geraten.
Fehlt etwas, dann setzen Sie sich bitte mit Ihrem Lieferanten in Verbindung.
= Gehört nicht zum Lieferumfang!



 Das Gewächshaus sollte hin und wieder gründlich mit einer neutralen Waschmittellauge abgewaschen werden. Das Glas kann mit einem Reinigungsmittel
gesäubert werden, das weder Kunststoffteile, noch den Aluminiumrahmen angreift. Reinigen Sie regelmäßig die Türlaufschiene.
 Das Fundament muss absolut rechtwinklig und eben sein.
Das Fundament muss frostfrei gegründet werden.
 Den beiliegenden Warnungsaufkleber von innen aufkleben.
Zur Panzenaufzucht sind abgedichtete Fugen nicht notwendig. Sollten sie dies dennoch wünschen, empehlt sich, das Ge wächshaus an den vorhandenen Fugen mit
neutral vernetzendem Silikon abzudichten. Das Silikon gehört nicht zum Lieferumfang.
Ihr Lieferant hält ein reichhaltiges Sortiment an Gewächshaus-Zubehör für Sie bereit. Sprechen Sie ihn an.
 Die Dachächen dürfen nicht betreten werden. Es besteht Absturzgefahr.
Bei starkem Wind sollten alle Öffnungen und die Tür geschlossen werden.
Dächer von Gewächshäusern sind so rechtzeitig von Schnee zu räumen, dass keine gefährliche Schneebelastung eintreten kann.
 Zum vollen Schutz des Gewächshauses empfehlen wir, es mit in Ihre einzuschließen. Beachten Sie eventuell vorhandene örtliche
Bauvorschriften.
Den mitgelieferten Typaufkleber nach erfolgter Montage des Gewächshauses auf das Teil (3511) kleben. Die Typbezeichnung benötigen
Sie zur Angabe bei der Bestellung evtl. benötigter Ersatzteile. Bitte heben Sie die Montageanleitung auf!
Alle Maßangaben sind Annäherungswerte. Änderungen vorbehalten.
0-3



Chatta con il manuale del tuo Vitavia Stad utilizzando l'IA

Ottieni risposte istantanee dall'IA dal manuale del tuo Vitavia Stad

Chiedi qualsiasi cosa sul Vitavia Stad. Le risposte provengono da questo manuale, con le pagine di riferimento.

Stad Programma di manutenzione

Ricordami quando e' necessaria la manutenzione
Trimestrale
Pulire le superfici della serra

Lavare la serra accuratamente con un detergente neutro delicato di tanto in tanto. Assicurarsi che il detergente non reagisca aggressivamente con l'alluminio.

Mostra nel manuale (pagina 12)
Trimestrale
Pulire i binari delle porte

Pulire regolarmente i binari delle porte per evitare l'accumulo di detriti e garantire un funzionamento fluido.

Mostra nel manuale (pagina 12)

Promemoria di manutenzione gratuiti

In base alla data di acquisto. Sempre gratuito, annulla l'iscrizione in qualsiasi momento.

Inviando, accetti l'informativa sulla privacy. Puoi annullare l'iscrizione con un clic in qualsiasi email.
M: QW-35-FL

Fai una Domanda

0/1000

Consigli Stad?

Sì No

Domande frequenti

A

La serra supporta pannelli in policarbonato cavo (multiwall) e diverse opzioni in vetro (a lastre divise, a lastre intere, smerigliato), con misure alternative indicate nel manuale così da poter scegliere tra migliore isolamento o trasmissione più chiara della luce.

Questa risposta è utile?

A

Si consiglia l'assemblaggio in due persone. Il manuale sottolinea che due persone garantiscono una gestione più sicura dei pannelli e dei componenti del telaio di grandi dimensioni e aiutano a ottenere l'allineamento corretto durante il fissaggio delle parti.

Questa risposta è utile?

A

Sì. Il manuale evidenzia che la serra deve essere ancorata e che la fondazione dovrebbe essere esattamente quadrata, livellata e protetta dal gelo. L'ancoraggio previene danni dovuti al vento e una base corretta garantisce longevità e il corretto funzionamento delle porte.

Questa risposta è utile?

A

No. Il silicone per sigillare le giunzioni non è incluso. Il manuale indica che il sigillo è opzionale per la coltivazione delle piante e raccomanda silicone a reticolazione neutra se si sceglie di impermeabilizzare le giunzioni.

Questa risposta è utile?

A

Si consiglia una pulizia periodica con un detergente delicato; assicurarsi che i prodotti non siano aggressivi per l'alluminio e le parti in plastica. Pulire regolarmente le guide delle porte, controllare le guarnizioni e i fissaggi e rimuovere la neve dal tetto per evitare sovraccarichi.

Questa risposta è utile?

A

Lo Stad è robusto ma richiede ancoraggio corretto e una scelta del sito adeguata (riparato dal vento). In caso di forti venti chiudere tutte le aperture e le porte; in presenza di neve pesante, rimuoverla dal tetto. Il manuale raccomanda di posizionare la serra in un luogo protetto e di aggiungere ancoraggi alla fondazione.

Questa risposta è utile?

A

Il manuale istruisce di conservare l'etichetta del modello (applicarla alla parte 3511) e le istruzioni di montaggio. Utilizzare la designazione del tipo per ordinare pezzi di ricambio o accessori dal rivenditore locale o dai contatti indicati dal produttore.

Questa risposta è utile?

M: OA-GPT-5-NAN

Vantaggi e Svantaggi

Vantaggi

  • Telaio robusto in alluminio anodizzato per resistenza alla corrosione e leggerezza.
  • Opzioni di vetrazione flessibili (policarbonato cavo o vetro a lastre intere/divise).
  • Manuale multilingue completo con elenchi dei componenti e specifiche di coppia.
  • Design compatto a capannina aderente che salva spazio in giardino e beneficia del calore della parete.
  • Disponibilità di accessori (mensole, fondazioni, prese d'aria) che permettono di personalizzare l'uso.
VS

Svantaggi

  • Richiede due persone e alcuni attrezzi per un assemblaggio corretto.
  • Silicone e alcuni accessori di sigillatura non sono inclusi nella consegna.
  • Non destinato a essere uno spazio abitativo—limitazioni di ventilazione e parziale sigillatura.
  • Il tetto non deve essere calpestato; potrebbe essere necessario rimuovere la neve in inverno.
  • Ancoraggio corretto e fondazione protetta dal gelo sono obbligatori, aumentando i costi.
M: OA-GPT-5-NAN

Prodotto Specifiche

Telaio

Alluminio

Caratteristiche

Lucernario

Porta

Porta scorrevole

M: GO-GEM-FL-25

Descrizione del prodotto Descrizione

Vitavia Stad Anlehn-Gewächshaus Manual

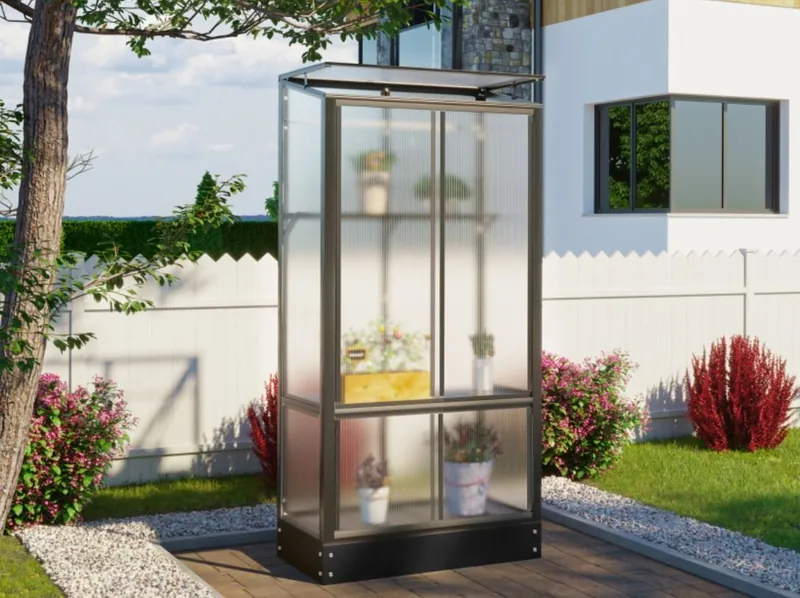
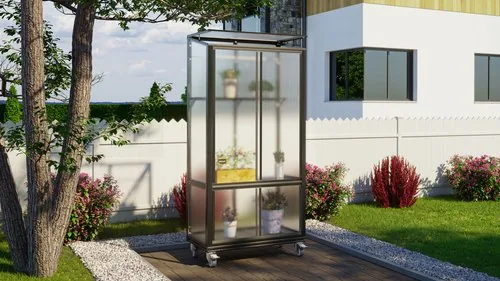
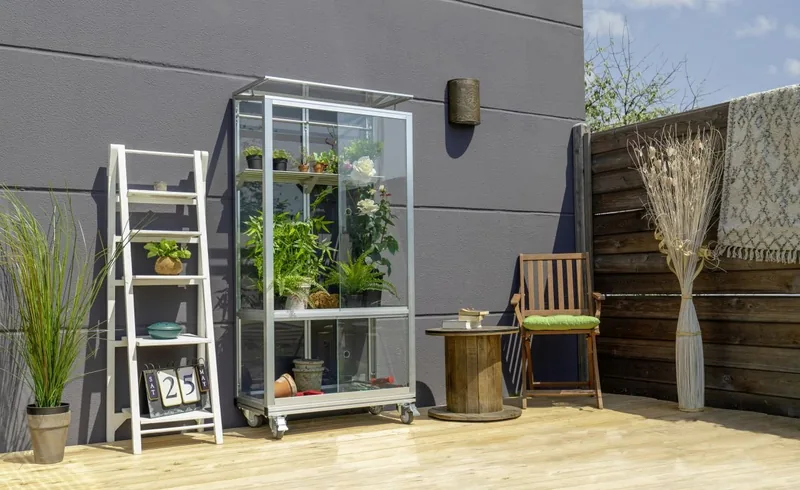
Discover the Vitavia Stad Anlehn-Gewächshaus — a well-engineered lean-to greenhouse designed for gardeners who need a compact, sturdy structure attached to a wall or building. This model pairs durable aluminum framing with options for polycarbonate or glass glazing, delivering a reliable growing environment that balances light transmission, insulation, and longevity. Whether you want a sheltered spot for seedlings, an overwintering space for tender plants, or a year-round microclimate for herbs and vegetables, the Vitavia Stad offers practical features and flexible configurations to suit small-plot gardening.

Key product details

The greenhouse is supplied with a comprehensive parts list, multilingual safety guidance, and step-by-step assembly guidance. Frames are anodised aluminium for corrosion resistance and light weight; panels come in hollow polycarbonate or full/split-pane glass depending on the selected variant. Door options include sliding systems, and roof vents facilitate airflow and climate control. Fixings and recommended torque values are listed to ensure correct assembly, and anchoring the base is emphasised for safety and wind resistance.

Why choose this model

Vitavia designed the Stad lean-to to be user-friendly for two people to assemble, with clear labelling for bundles and parts to avoid mixing. The manual stresses site selection (sunny, sheltered from wind), proper foundation (square, frost-protected), and routine maintenance like gentle washing and keeping door tracks clear. It also describes accessory options—shelves, hooks, and foundation profiles—so you can customise the greenhouse to your needs.

Practical considerations

Safety is prioritized: wear gloves, protective eyewear and footwear when handling frame sections and glazing; clear broken glass carefully. The greenhouse is intended for plant cultivation only and not for living spaces. For severe weather, close vents and doors, anchor the structure, and remove heavy snow loads from the roof. The manual recommends affixing the supplied model label inside the greenhouse for future spare-part identification.

Final notes

The Vitavia Stad Anlehn-Gewächshaus Manual offers thorough multilingual instructions, clear component lists, and helpful assembly tips. It emphasizes correct foundation preparation, safe handling of glazing and parts, and proper anchoring. With suitable siting and maintenance, the Stad lean-to greenhouse is a compact, robust solution for gardeners seeking extended growing seasons and protected cultivation.

Notes:

  • Available glazing: hollow polycarbonate or various glass pane options.
  • Assembly recommended for two persons; silicone for sealing not included.
  • Keep the manual and model label for spare parts and support.
M: OA-GPT-5-NAN

© Copyright 2026 Manual.ly
