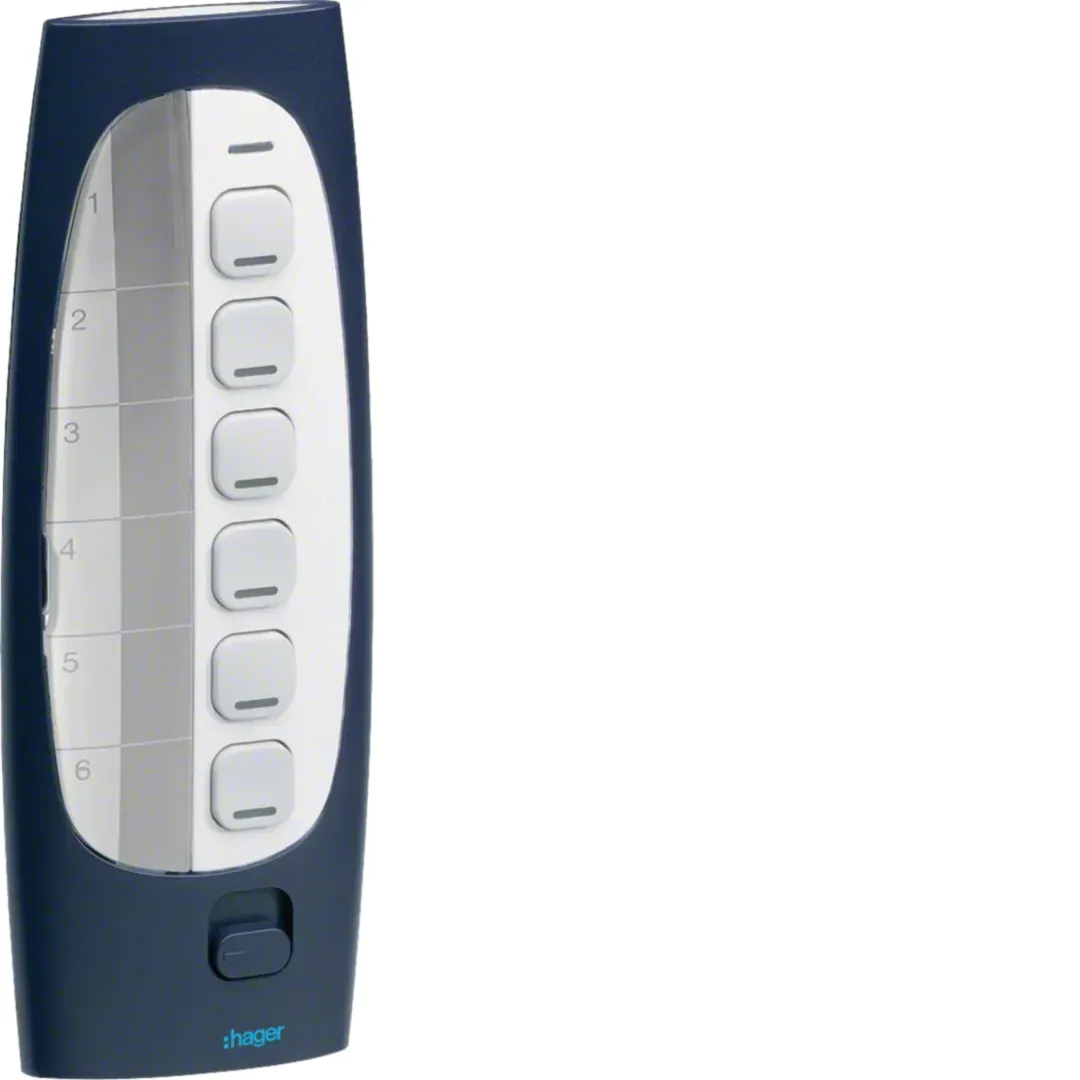
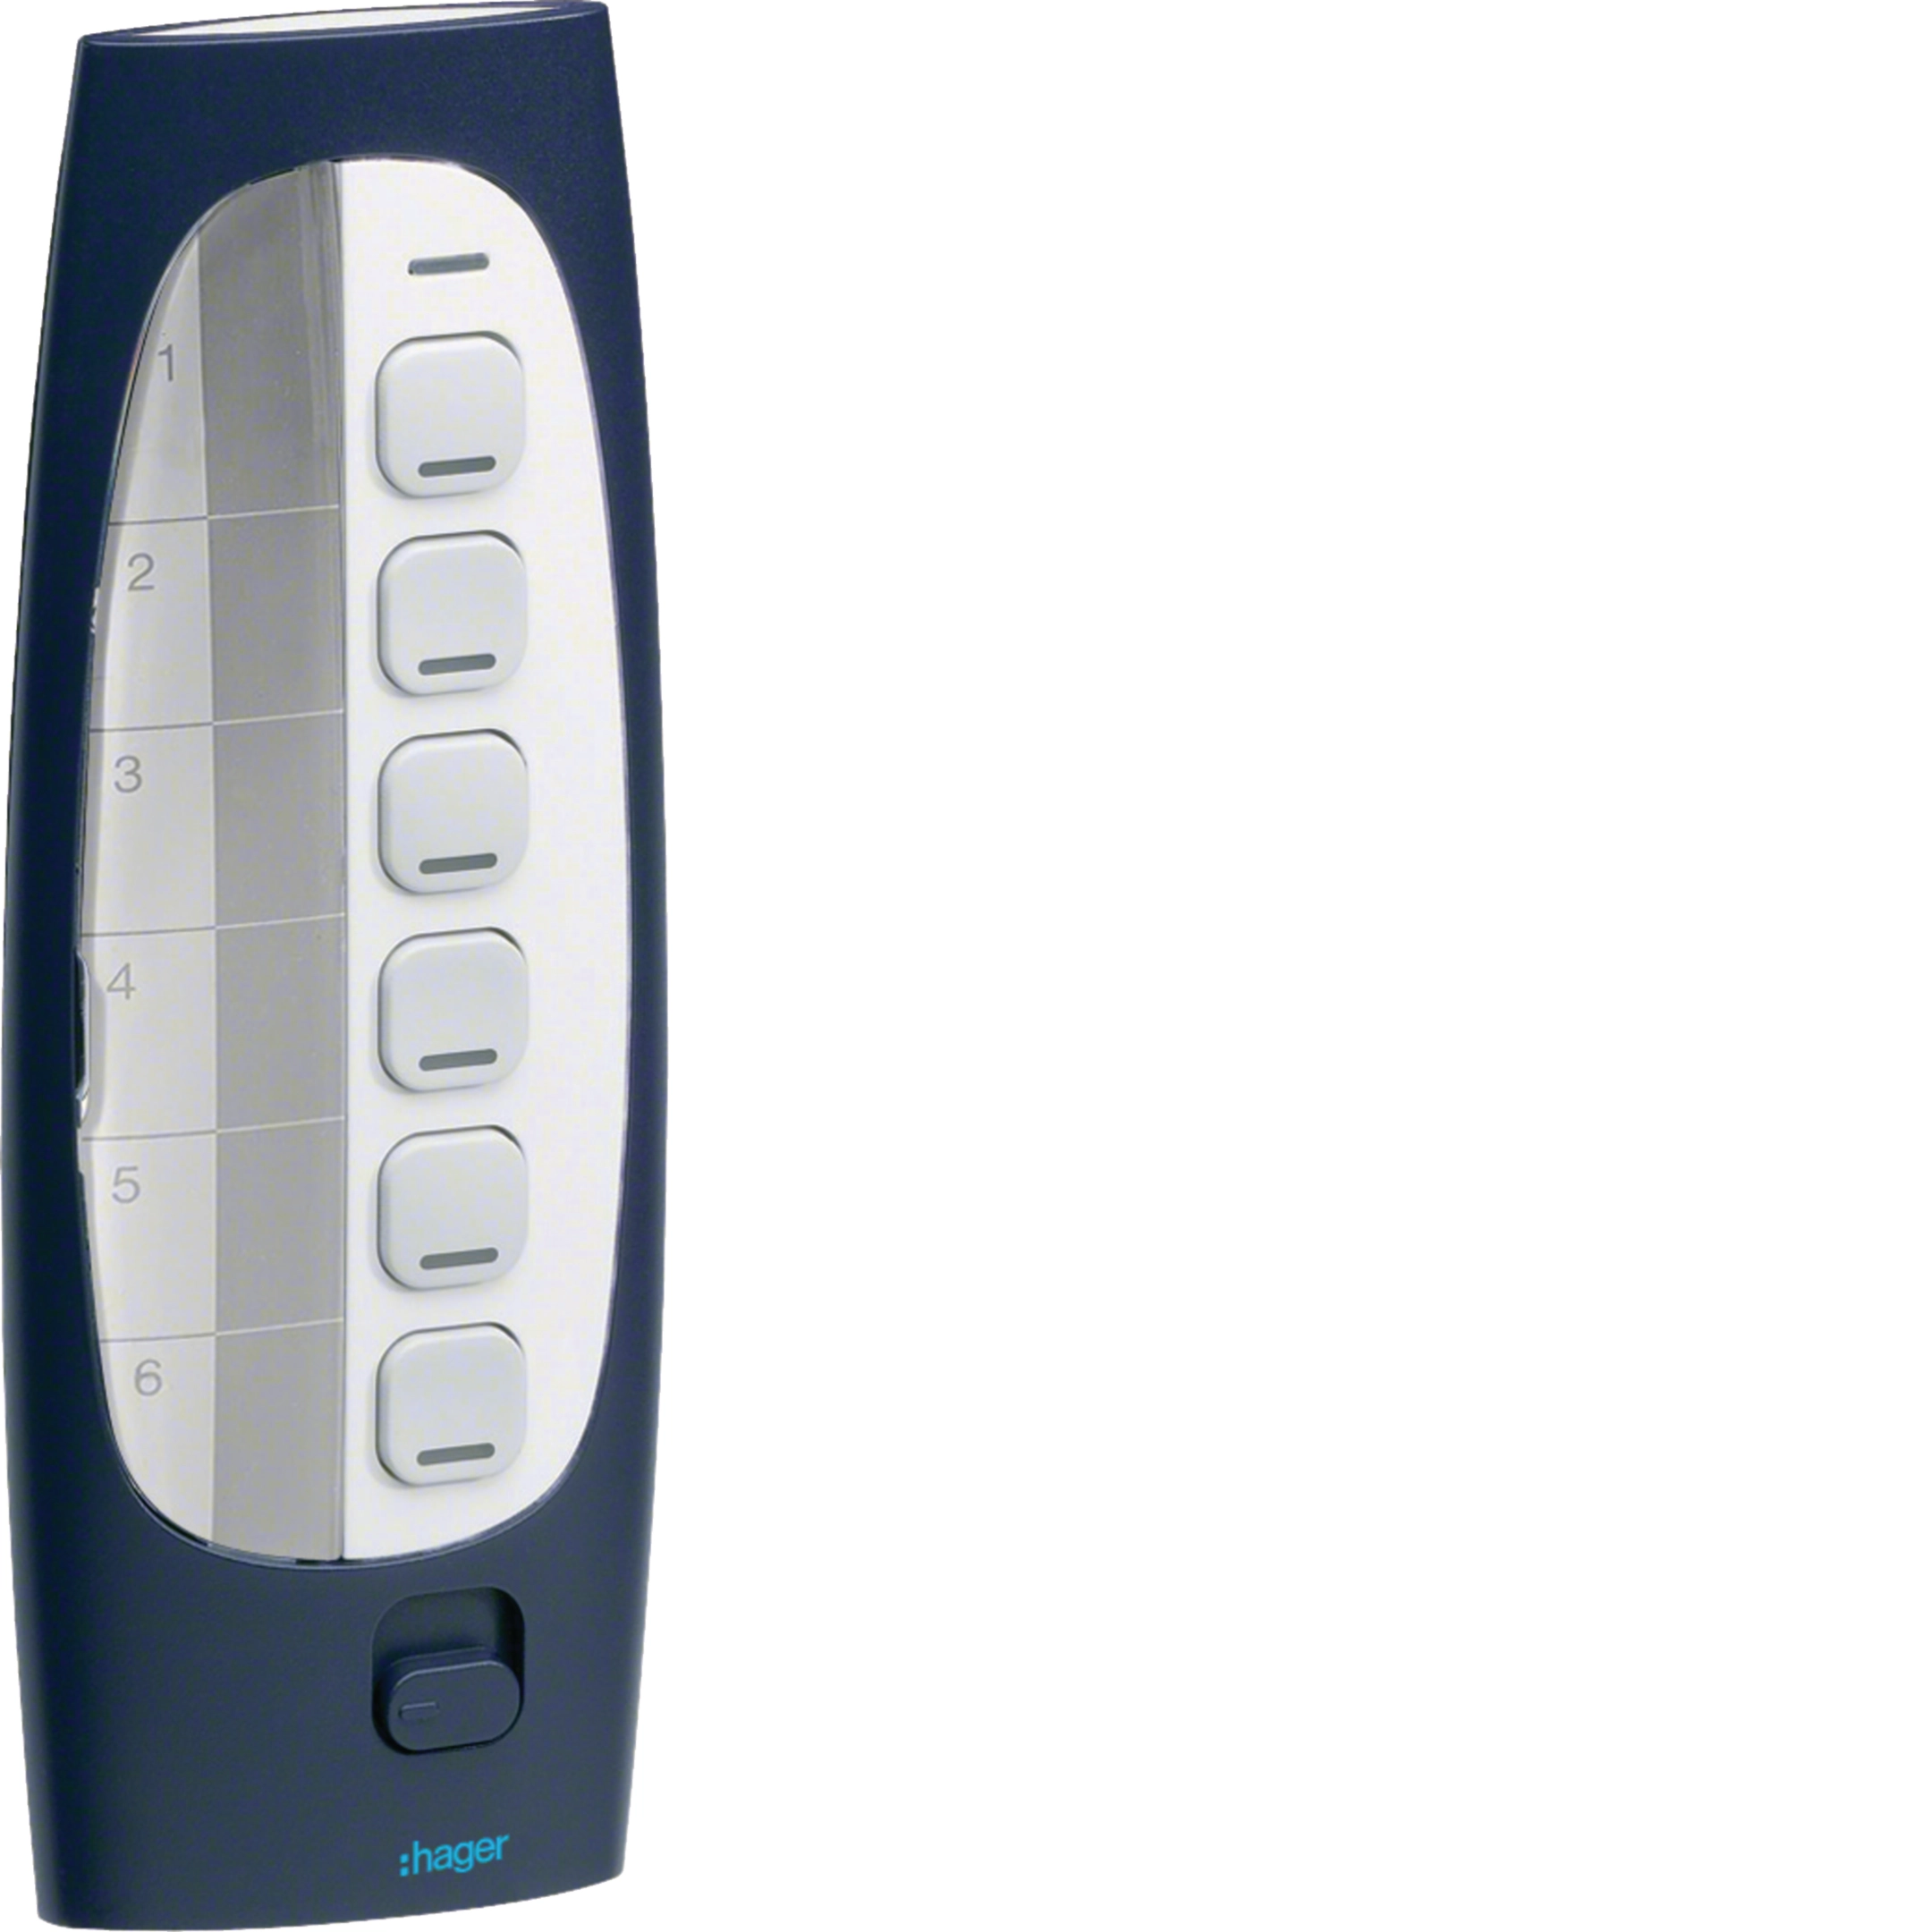
De RF-afstandsbedieningen TU402 en TU404 zijn zenders
die dienen voor de aansturing op afstand van KNX-
uitgangsmodules. Ze maken deel uit van het tebis-
installatiesysteem. Ze dienen voor de aansturing van de
verlichting, markiezen of rolluiken, van de verwarming,...
Functies
• 6 of 18 aparte kanalen voor aansturing door de KNX-bus.
• Visualiseren van de uitsturing van een bevel.
• Aanduiden van de functies op etikethouder 4 .
• De verlichting van de toetsen en van de etikethouder
schakelt gedurende 4 s automatisch in als u het toestel in
de hand neemt (alleen bij de TU418).
Configuratie
Deze zenders kunnen op 3 verschillende manieren
geconfigureerd worden :
•
quicklink
: configuratie zonder behulp van gereedschap,
zie handleiding 6T7952 geleverd met de
RF-ontvanger.
• TX100/B V2.6.0 of > : beschrijving van de
productfuncties zijn verkrijgbaar bij de fabrikant.
• ETS3 of > via TR131 : Database en beschrijving van de
toepassingssoftware zijn verkrijgbaar bij de fabrikant.
Configuratie via TX100 of ETS
Druk op de J-drukknop bij de inleesfase via de TX100 of
voor het adresseren met de TR131 en ETS.
Gebruik de afstandsbedieningen met
RF-ingangsconcentrator TR351 : zie pagina 2.
O
Om van configuratiemodus te veranderen moet u terug
naar de fabrieksmodus van het product.
Klonen van zenders
Via het klonen kunt u een duplicaat aanmaken van een "mas-
ter" RF-zender die al geconfigureerd is, om er snel volledig
identieke kopieën van te maken.
Hoe gaat u te werk om een zender te klonen?
- Ga naar de configuratiemodus door op de J-drukknop
van de "master" te drukken : De cfg-LED gaat branden.
- Op het te klonen apparaat, dat nog in fabrieksinstellingen
staat, houdt u de J-drukknop lang ingedrukt (>15 sec)
tot de cfg-led de tweede knipperfase bereikt (sneller knip-
peren). Het klonen is beëindigd als de LED dooft. Herhaal
deze stap voor de andere te klonen producten.
- U verlaat de kloonmodus door nogmaals op de
J-drukknop van de master te drukken.
Als de zender gekloond is, licht de cfg-LED oranje op bij het
indrukken van de J-drukknop.
O
Het klonen is alleen mogelijk tussen zenders met het-
zelfde aantal ingangen.
Als het niet mogelijk is een gekloond product inclusief
de master te wijzigen, moet u terug naar de fabrieksmo-
dus en het product herprogrammeren.
Activering/deactivering van de leds en van de ver-
lichting van de etikethouder (alleen bij de TU418)
Om de leds 3 en de verlichting van de etikethouder 4, te
activeren of te deactiveren, moet u de keuzetoets 5 in een
andere stand plaatsen en de toets 2 vlak onder de led 1
kort indrukken.
Keuzetoets 5 (alleen bij de TU418)
Met de afstandsbediening TU418 kunt u 18 verschillende
bevelen uitsturen die verdeeld zijn over 3 groepen met 6
toetsen.
Met de keuzetoets 5 kunt u één van de drie groepen selec-
teren.
I radio telecomandi TU402 e TU404 sono emittenti che
permettono di pilotare a distanza dei moduli d’uscita KNX e
fanno parte del sistema d’installazione Tebis. Tramite essi è
possibile controllare l’illuminazione, le tende o le tapparelle,
il riscaldamento, ...
Funzioni
• 6 o 18 canali indipendenti di comando tramite il bus KNX.
• Visualizzazione dell’ordine emesso.
• Indicazione delle funzioni tramite porta etichette 4.
• Accensione automatica per 4 secondi,del sistema
d’illuminazione dei tasti o del porta etichette alla
semplice presa in mano (TU418 solamente).
Configurazione
E’ possibile configurare queste emittenti in 3 modi diversi :
•
quicklink
: configurazione senza strumenti :
consultare il libretto 6T7952 fornito con i ricevitori radio.
• TX100/B V.2.6.0 oppure >: descrizione delle funzioni del
prodotto disponibile presso il costruttore.
• ETS3 oppure > via TR131 : Base di dati e descrizione del
software applicativo disponibile presso il costruttore.
Configurazione mediante TX100 oppure ETS
Premete il pulsante J durante la fase d’apprendimento
mediante il TX100 oppure per l’indirizzamento con il TR131
in ETS.
Utilizzo dei telecomandi con concentratore d’entrate radio
TR351: consultare pagina 2.
O
Per cambiare il modo di configurazione, occorre
tassativamente eettuare un “ripristino delle
configurazioni di fabbrica” del prodotto.
Clonazione d’emittenti
La clonazione permette di duplicare un’emittente radio
“master” già configurata per creare rapidamente copie tutte
identiche.
Come clonare un’emittente?
- Entrare in configurazione premendo il pulsante J del
“master” : si illumina il LED cfg.
- Sul prodotto da clonare ancora in modo "fabbrica", premete
a lungo (t >15s) il pulsante J fino al 2° livello di lampeggio
(più rapido) del LED cfg. L’avvenuta clonazione è segnalata
dallo spegnimento del LED.
Ripetere questa tappa sugli altri prodotti da clonare.
- Uscita dal modo clonazione premendo nuovamente il pulsante
J del “master” .
L’avvenuta clonazione dell’emittente è segnalata dall’accen-
sione (arancione) del LED cfg premendo il pulsante J .
O
La clonazione è possibile solo fra emittenti munite del
medesimo numero d’entrate. Impossibile modificare un
prodotto clonato compreso il "master": ripristinate le
configurazioni di fabbrica e riprogrammate il prodotto.
Attivazione/disattivazione delle spie e dell’illumi-
nazione del porta etichette (TU418 solamente)
Per attivare o disattivare le spie 3 e l’illuminazione del porta
etichette 4, spostare il selettore 5 sulla nuova posizione e
premere brevemente sul tasto 2 situato giusto sotto la spia 1.
Selettore 5 (TU418 solamente)
Il telecomando TU418 permette d’inviare 18 ordini diversi
ripartiti su 3 gruppi di 6 tasti. Il selettore 5 permette la
selezione di uno di questi tre gruppi.
Terugkeer naar de fabrieksmodus
De J -drukknop ingedrukt houden tot de cfg-LED
gaat knipperen (> 10s.) en dan loslaten.
Het wissen is beëindigd als de cfg-LED dooft.
Deze bewerking heeft tot gevolg dat de configuratie
van het product volledig wordt gewist, ongeacht de
configuratiemodus.
Na een vervanging van de batterijen of een terugkeer naar
de fabrieksmodus moet u 15 s. wachten alvorens over te
gaan tot een configuratie.
Vervangen van de batterijen
Open het batterijvak 6. Verwijder de 2 batterijen en
plaats de nieuwe, let daarbij op de polariteit (altijd
de 2 batterijen tegelijkertijd vervangen).
Monteer opnieuw het batterijvak 6.
+
+
cfg
*
* TU418
2
3
4
6
1
5
cfg
Ritorno fabbrica
Premere e mantenere il pulsante J fino al lampeggio
del LED cfg (>10s) poi rilasciare. La fine del ripristino
delle configurazioni di fabbrica è segnalata dallo
spegnimento del LED cfg.
Questa operazione provoca la scomparsa totale della
configurazione del prodotto, qualunque sia il modo di
configurazione. Dopo una sostituzione delle pile o un
ripristino delle configurazioni di fabbrica, attendere 15s
prima di procedere ad una configurazione.
Cambio delle batterie
Rimuovere lo sportello delle pile 6.
Rimuovere le 2 pile e inserire le nuove rispettando la
polarità (cambiare sempre le 2 pile contemporaneamente).
Rimontare lo sportello delle pile 6.
Hierbij verklaart hager Controls dat het toestel
RF-afstandsbediening in overeenstemming is met de
essentiële eisen en de andere relevante bepalingen van
richtlijn 2014/53/UE. De CE verklaring van Hager kan worden
gedownload via de website : www.hagergroup.com
Te gebruiken in geheel Europa en in Zwitzerland
Con la presente hager Controls dichiara che questo
telecomando è conforme ai requisiti essenziali ed alle altre
disposizioni pertinenti stabilite dalla direttiva 2014/53/UE.
La dichiarazione CE può essere trovato sul sito web :
www.hagergroup.com
Usato in Tutta Europa
e in Svizzera
Betekenis van led 1
Bediening van toetsen
op het product
Status van de LED
Kleur van
de LED
Betekenis
Indrukken van één van
de toetsen 2
Brandt kortstondig GroenHet bevel is uitgestuurd
Knippert gedurende 1sOranje De geactiveerde DK is niet geconfigureerd
Knippert gedurende 1s Rood Laag batterijniveau
Uit _- Geen batterijen voorhanden of uiterst laag batterijniveau
- Verkeerde polariteit van de batterijen
Significato della spia 1
Azione sul prodotto Tasto del LED Colore del LED Significato
Pressione su uno dei
tasti2
Brevemente accesoVerdeL’ordine è stato emesso
Lampeggia per circa 1s ArancioIl pulsante azionato non è configurato
Lampeggia per circa 1s Rosso Livello delle batterie basso
Spento _- Assenza batterie o livello delle batterie basso
- Non rispetto della polarità delle batterie
036LE003064B
I
I
Gebruiksaanwijzing
Y
Y
Istruzioni d’uso
i
RF-afstandsbedieningen 6, 18 -
kanalen
y
Telecomandi R.F. 6, 18 canali
z
e
z
i
y
> 5s
> 5s
Fig. 1
Algemeen
De radio afstandsbedieningen TU4xx kunnen
aangesloten worden op de radio ontvanger TR351 in
het kader van een configuratie via de actor TX 100 of
via de ETS-Software. In dit geval ontvangt de TR351
de aansturingsbevelen van de radio en geeft ze door
via een busleiding KNX.
Hoe de afstandsbediening op de TR351 aansluiten?
Voor de configuratie moet de afstandsbediening op
fabriekstand staan, als dit niet het geval is gaat u
terug naar fabriekstand door lang op de toets J te
drukken (tussen 10 en 15 seconden).
• De trainingsprocedure op TR351 lanceren volgens
de configuratie (TX100 of ETS),
• Om de afstandsbediening op trainingsstand af te
stellen, de 1ste toets (zie fig1) lang ingedrukt
houden (>5s), tot het rode controlelampje LED
blijft branden. Deze stand blijft actief gedurende
1 minuut en kan indien nodig op dezelfde wijze
opnieuw gelanceerd worden.
• Vervolgens opeenvolgend de verschillende toetsen
indrukken om te oefenen.
Generalità
E' possibile collegare i telecomandi radio TU4xx ad un
concentratore d’entrate radio TR351 nell’ambito di una
configurazione mediante lo strumento TX100 o mediante il
software ETS. In questo caso, il TR351 riceve i comandi
radio e li emette nuovamente sul lato bus filare KNX.
Come collegare il telecomando alla configurazione TR351?
Prima della configurazione, il telecomando dovrà essere in
modo “fabbrica” altrimenti procedere al “rinvio fabbrica”
mediante pressione molto lunga (fra 10s e 15s) sul tasto
J.
• Lanciare la procedura d’apprendimento sul TR351
secondo il modo di configurazione TX100 o ETS),
• per entrare in modo d’apprendimento sul telecomando,
procedere ad una pressione l lunga (>5s ) sul 1° tasto
(osservare la fig.1) fino all’accensione rossa e fissa del
Led d’emissione. Questo modo sarà attivo per
1 minuto ed è possibile rilanciarlo in maniera
Généralités
Les télécommandes radio TU4xx peuvent être liées
à un concentrateur d’entrées radio TR351 dans le cadre
d’une configuration par l’outil TX100 ou par le logiciel ETS.
Dans ce cas, le TR351 réceptionne les commandes radio
et les réémet côté bus filaire KNX.
Comment lier la télécommande au TR351?
Avant configuration, la télécommande doit être en mode
usine sinon procéder au retour usine par un appui très long
(entre 10s et 15s) sur la touche J.
• Lancer la procédure d’apprentissage sur le TR351 selon
le mode de configuration (TX100 ou ETS),
• Pour entrer en mode d’apprentissage sur la télécom-
mande, procéder à un appui long (>5s ) sur la 1ère
touche (voir fig 1) jusqu’à l’allumage rouge fixe de la led
d’émission. Ce mode sera actif durant 1 minute et peut
être relancé de la même façon si nécessaire.
• Ensuite, appuyer successivement sur les diérentes
touches à apprendre.
General information
TU4xx radio remote controls can be linked with a TR351
radio input concentrator by using the configuration tool
TX100 or software ETS. In this case, TR351 receives the
radio controls and re-transmits them on KNX wire bus side.
How to link the remote control unit with TR351?
Before configuration, the remote control shall be set in
factory mode. If not, then reset the unit by pressing the
J key for an extended time (10 – 15 sec).
• Launch the learning procedure on TR351 according to
the configuration mode (TX100 or ETS),
• Switch the remote control unit to the learning mode,
press the 1st key (see Fig 1) for an extended time (> 5s)
until the red transmit LED switches on. This mode will be
active for 1 minute and can be restarted any time in the
same way if necessary.
• Finally, press the various learning keys in sequence.
Allgemeines
Die Funkfernbedienungen TU4xx können an
einen Funkeingangs-Hub TR351 im Rahmen der
Konfiguration mit Hilfe des Tool TX100 oder der
Software ETS angeschlossen werden. In diesem Fall
empfängt der TR351 die Funk-Steuerbefehle und
sendet diese über den KNX-Bus weiter.
Vorgehensweise beim Anschluss der Fernbedienung
an TR351
Vor der Konfiguration muss die Fernbedienung auf
Werkseinstellungen stehen, ansonsten ist sie auf die
Werkseinstellungen zurückzusetzen (Reset), indem
man lang anhaltend (10 bis 15 Sekunden lang) die
Taste J drückt.
• Lernprozedur am TR351 je nach Konfigurations-
modus (TX100 oder ETS) auslösen,
• Um die Fernbedienung in Lernmodus zu versetzen,
1. Taste einmal lang drücken (>5 Sek.) (siehe Abb.
1), bis die Sende-LED permanent rot leuchtet. Dieser
Modus bleibt 1 Minute lang aktiv und kann auf die-
selbe Weise bei Bedarf mehrfach ausgelöst werden.
• Anschließend nacheinander die zu erlernenden
Tasten betätigen.
identica se necessario.
• In seguito, premere successivamente i vari tasti da
apprendere.
+
+
cfg
cfg
A
B
04
I
I
E
E
Z
Z
A
A
Y
Y
TU406
TU418
TR351 TU406, TU418
a
Additif configuration TR351
e
Beilage Konfiguration
TR351
z
TR351 Configuration
Supplement
i
Bijlage configuratie TR351
y
Nota aggiuntiva alla
configurazione TR351
V2.6.0
RFTP
230V~
Bus
30 V
04.2017
6LE003064B
Hager Controls S.A.S., 33 rue Saint-Nicolas, B.P. 10140, 67703 SAVERNE CEDEX, France - www.hager.com
/2
%
Controllo rapido
Non sono un robot
Risposta errata, riprova.
Chatta con il manuale del tuo Hager Wireless Remote Control 18 Channel utilizzando l'IA
Ottieni risposte istantanee dall'IA dal manuale del tuo Hager Wireless Remote Control 18 Channel
Chiedi qualsiasi cosa sul Hager Wireless Remote Control 18 Channel. Le risposte provengono da questo manuale, con le pagine di riferimento.
Fai una Domanda
0/1000
Consigli Wireless Remote Control 18 Channel?
SìNo
Domande
frequenti
A
The TU406 supports 6 independent KNX channels; the TU418 supports 18 channels organized in three groups of six, selectable via a group selector.
Questa risposta è utile?
A
Configuration can be done by quicklink (tool-less), using TX100/B software (v2.6.0 or later), or with ETS3+ via the TR131 database. For TX100/ETS addressing, press the J button during the learning phase.
Questa risposta è utile?
A
Cloning duplicates a configured master transmitter to create identical copies. Enter master configuration, long-press J on a factory-reset target (>15s) until LED signals completion. Cloning only works between remotes with the same number of inputs; cloned units (and the master) require factory reset to be reprogrammed.
Questa risposta è utile?
A
Green indicates the control was transmitted; orange (blinking) means the pressed key is not configured; red (blinking) signals low battery. No LED can mean missing or incorrectly inserted batteries.
Questa risposta è utile?
A
Press and hold the J pushbutton for more than 10 seconds until the cfg LED blinks, then release. The cfg LED will extinguish to signal the reset. This clears all configuration; wait 15 seconds after reset or battery change before reconfiguring.
Questa risposta è utile?
A
The remote uses two CR2430 3.0 V batteries. Open the battery compartment, remove both batteries and insert new ones respecting polarity. Always replace both cells simultaneously and reattach the cover.
Questa risposta è utile?
A
Yes, Hager declares compliance with Directive 2014/53/EU. The CE declaration is available on Hager’s website (www.hagergroup.com) and the device is approved for use across Europe and Switzerland.
Questa risposta è utile?
M: OA-GPT-5-NAN
Vantaggie
Svantaggi
Vantaggi
Supports 6 or 18 independent KNX channels for flexible control.
Multiple configuration methods: quicklink, TX100/B, or ETS3 via TR131.
Cloning enables rapid duplication of preconfigured master transmitters.
TU418 provides automatic backlighting and illuminated label holder.
Long battery life (approx. 5 years) using common CR2430 cells.
VS
Svantaggi
Cloned devices cannot be modified without factory reset and reprogramming.
Configuration mode changes require a full factory reset.
Indoor range and performance depend on environment; free-field range ~100 m.
Limited ingress protection (IP30) — not suitable for wet or outdoor use.
Requires knowledge of TX100/ETS tools for advanced programming.
M: OA-GPT-5-NAN
Prodotto
Specifiche
Tipo
Telecomando
Standard
KNX
Funzione
Controllo
Topologia
Bus, Albero
Dimensioni
134x50x16mm
Caratteristiche speciali
IP30, a batteria (2x CR2430)
M: GO-GEM-FL-25
Descrizione del prodotto
Descrizione
Hager Wireless Remote Control 18 Channel — Overview
The Hager Wireless Remote Control 18 Channel is a versatile RF handset designed for KNX installations, offering reliable wireless control of lighting, blinds, shutters, heating and other building automation functions. Available in 6- and 18-channel versions (TU406/TU418 family), these transmitters integrate with the Tebis installation system and communicate at 868.3 MHz with a typical free-field range up to 100 m. The TU418 adds backlit keys and an illuminated label holder for improved usability in low light.
Key features and operation
These remotes provide independent KNX bus channels (6 or 18), visual acknowledgement of transmitted commands via LEDs, and a label holder for function identification. The TU418 automatically lights keys and the label holder for four seconds when picked up. A single push of the J button enters configuration modes or signals status; LED colors indicate transmission success, unconfigured keys, and low battery.
Configuration supports three methods: quicklink (tool-less pairing), TX100/B (software tool), and ETS3+ via TR131 database entries. Devices can be linked to a TR351 radio input concentrator so radio commands are forwarded to the KNX bus. Changing configuration mode requires a factory reset.
Advanced management — cloning and reset
Cloning lets you duplicate a configured master transmitter to create identical copies quickly. The cloning process is initiated from the master and completed by long-pressing the target unit’s J button; cloning works only between remotes with the same number of inputs and cloned units cannot be modified without a factory reset. Factory reset is performed by holding J >10s; this erases all configuration. After battery replacement or reset wait 15s before configuring again.
Power and compliance
The remotes use two CR2430 3.0V batteries (replace both simultaneously). Typical battery life is about five years under expected use. Emission power is limited (25 mW), device rating IP30, operating temperature 0 °C to +45 °C. Hager declares CE conformity to Directive 2014/53/EU and suitability for use across Europe and Switzerland.
Notes
TU406 = 6-channel; TU418 = 18-channel with group selector and backlight features.
LED indications: green = command sent; orange = key not configured; red = low battery.
Always respect battery polarity and replace both cells together.