Manual.ly Logo

Chicco Baby Hug 4 in 1 Manuale

0,0 · 0 Valutazioni

Manuale PDF · 112 Pagine

Italiano

M: GO-GEM-FL-25
pagina

/ 112

Loading...
c2b283e0701ef547d8f033ee65ada21c6ffd page 10
16
17
CLEANING
Clean the plastic parts with a soft damp cloth. Never use
abrasive detergents or solvents. If the highchair comes
into contact with water, dry the metal parts to prevent
the formation of rust.
MAINTENANCE
• This product requires periodical maintenance.
• Cleaning and maintenance operations must only be
carried out by an adult.
• Periodically check the product for broken, damaged or
missing parts: do not use it in this case.
• To avoid friction that may compromise the correct
functioning of the product, ensure that all the moving
plastic parts located along the metal frame are free of
dust, dirt and sand.
• If necessary, lubricate the moving parts with dry sili-
cone lubricant.
• Store the product in a dry place.
COMPONENTS
The product is completely disassembled when pur-
chased; check that all of the components listed below
are present. If any part is missing contact ARTSANA’s
CUSTOMER SERVICES.
The product and all of its components must always be
assembled by an adult.
A - Height adjustable pedestal frame
A1 - 4 wheels with brakes
B - Seat frame
C - Seat structure
D - Tubular seat frame
E - Fabric (with shoulder straps)
F - Booster cushion
G - Toybar
G1 - Light / sound game buttons
G2 - 3 soft toys
I - Upper fabric zips
L - Plastic clips
M - Height adjustment pedal
N - Backrest recline lever
ASSEMBLY
The product is not assembled when purchased. To use
it, carry out the following assembly operations:
1. The rst thing to do is assemble the “A1” wheels on
height adjustable base frame “A”. To do this place the
frame on a rug or soft surface so as not to damage the
oor or frame. Assemble the 4 “A1” wheels inserting
the pins in the 4 holes under height adjustable base
frame “A” as shown in gure 1.
WARNING: Fully insert the wheel pin into the hole in
the base. At this point the base can be rested on the
oor.
2. Insert the fasteners of seat frame “B” into the respec-
tive tubes on seat structure “C” until they click into
place (Fig. 2).
3. Assemble the seat (seat frame “B” + seat structure
“C”) on the base: insert the two tubes on base “A”
into the corresponding holes on seat frame “B” until
they click into place (Fig. 3).
WARNING: The backrest must face the height adjust-
ment pedal (I) as shown in Fig. 3a.
4. Insert tube “D” into the corresponding holes on seat
frame “B” until they click into place (Fig. 4).
5. To assemble fabric “E” line up the holes on the fabric
with the restraint system installed on seat structure
“C”. Pass the two lateral arms of seat frame “B” through
the side fabric holes (FIG. 5), insert the pins of the
arms into the holes on either side of the backrest (FIG.
5a) until they click into place.
WARNING: Check that both arms are assembled cor-
rectly.
6. Attach fabric “E” using the two perimeter zips above
seat frame “B” (Fig. 6).
7. Pass the crotch strap and waist straps on seat struc-
ture “C” through the holes of fabric “E” (Fig. 7-7a-7b-
7c).
8. Attach the fabric (E) to the bottom of seat structure
“C”, making sure to insert all of the plastic clips in the
right slots (Fig. 8-8a).
BOOSTER CUSHION
9. Reducer cushion “F” is ideal from birth and can be
used or removed as necessary. To attach it to the
seat, place it on the fabric, pass the crotch strap and
waste straps through the holes in booster cushion “F”
(reclined cradle mode), (Fig. 9). In highchair mode it
is also necessary to pass the shoulder straps through
the holes of the booster cushion (Fig. 9a).
TOYBAR
10. The toys can be attached to the toybar by passing the
straps through the plastic openings on the bar (Fig.
10) and fastening the velcro.
11. Assemble the toybar (with the light positioned to-
wards backrest recline lever “N”) inserting the pins of
the bar into the holes on seat frame “B” until it clicks
into place (Fig. 11).
12. To incline the toybar in the three possible positions
press the side buttons (Fig. 12).
13. To remove the toybar press the buttons on the inside
of the bar support and pull upwards (Fig. 13).
WARNING: Always check that the toybar is properly
fastened before using it.
WARNING: To prevent possible injury by entaglement,
remove this toy when the child starts trying to get up
on its hands and knees in a crowling position.
HEIGHT ADJUSTMENT
14. Once assembled, the product can be adjusted to
various heights in all congurations. To adjust its
height, hold down height adjustment pedal “M” (Fig.
14) and lift or lower the seat to the desired height.
ADJUSTING THE BACKREST
15. The backrest can be adjusted to four dierent posi-
tions. To do this, push down on backrest recline lever
“N” (Fig. 15).
Position 1 – Crib mode (Fig. 15a)
Position 2-3 – Reclined cradle mode (Fig. 15b)
Position 4 – Highchair and rst chair at the table mode
(Fig. 15c)
These adjustments can also be made with your child
seated in the product. In this case it will be slightly more
dicult.
WARNING: Always check that the backrest is properly
locked before use.
USING THE SAFETY HARNESS
16. With fabric “E” assembled on seat structure “B”, there
will be a crotch strap, two waist straps and two
shoulder straps (Fig. 16).
17. CRIB MODE - WARNING: Completely remove all
safety harnesses making sure to keep them out of
the reach of your child (Fig. 17).
18. RECLINED CRADLE MODE - WARNING: A 3-point
restraint system must be used: crotch strap + waist
straps (Fig. 18).
19. After placing your child in the seat, reclined cradle
mode, fasten the straps by passing the two prongs
through the crotch strap buckle; adjust the waist
straps so that they t closely around your child’s
waist (Fig. 19).
20. HIGHCHAIR AND FIRST SEAT AT THE TABLE
MODE - WARNING: A 5-point restraint system
must be used: crotch strap + waist straps + shoulder
straps (Fig. 20).
WARNING: In this conguration the toybar must al-
ways be positioned behind the backrest.
21. After placing your child in the seat in highchair
mode, fasten the straps by passing the two prongs
through the shoulder strap buckle (Fig. 21) and then
through the crotch strap buckle (Fig. 21a); Adjust the
height of the shoulder straps so that they correctly
t your child’s shoulders.
Always make sure that the straps are fastened correctly.
To unfasten the strap, press and pull the side prongs.
WARNING: When using the product, always fasten the
straps by inserting them in the crotch strap and check
that they are tight enough and properly fastened.
22. The safety harness straps can be removed (for washing
or for use in the crib/reclined cradle conguration).
To remove the harnesses pull the waist and crotch straps
out from the holes in the fabric (Fig. 22-22a-22b) until
they are hidden on the seat frame and pull the shoulder
straps out from the fabric holes on the backrest (Fig. 22c
-22d). After removing the safety harnesses, make sure
that the harnesses are correctly re-assembled.
To re-assemble the safety harnesses, carefully follow the
steps below:
23. Follow point 7 of the ASSEMBLY paragraph to re-
assemble the waist straps and crotch strap. For the
shoulder straps, pass the strap through the hole as
shown in Fig. 23, making sure that the length adjust-
er is positioned as shown in the gure.
Take the plastic hole of the shoulder straps and pass it
through the fabric ring of the harness (Fig. 23a).
Having performed this operation correctly, pull the har-

Chatta con il manuale del tuo Chicco Baby Hug 4 in 1 utilizzando l'IA

Ottieni risposte istantanee dall'IA dal manuale del tuo Chicco Baby Hug 4 in 1

Chiedi qualsiasi cosa sul Chicco Baby Hug 4 in 1. Le risposte provengono da questo manuale, con le pagine di riferimento.

Baby Hug 4 in 1 Programma di manutenzione

Dopo ogni lavaggio
Controllare tessuto e cuciture

Verificare la resistenza del tessuto e delle cuciture dopo ogni lavaggio per garantire la sicurezza.

Mostra nel manuale (pagina 15)
Periodicamente
Ispezionare danni

Controllare regolarmente il prodotto per parti rotte, danneggiate o mancanti e non utilizzarlo se presenti.

Mostra nel manuale (pagina 14)
Periodicamente
Pulire le parti plastiche in movimento

Rimuovere polvere, sporco e sabbia dalle parti plastiche che scorrono sui tubi metallici per prevenire l'attrito.

Mostra nel manuale (pagina 16)
Se necessario
Lubrificare le parti mobili

Applicare lubrificante al silicone secco sulle parti mobili se necessario per garantire un funzionamento corretto.

Mostra nel manuale (pagina 16)
M: QW-35-FL

Fai una Domanda

0/1000

Consigli Baby Hug 4 in 1?

Sì No

Domande frequenti

A

Può essere usata dalla nascita in modalità culla e sdraietta reclinata fino a 9 kg, poi da circa 6 mesi in modalità seggiolone e prima sedia fino a 36 mesi e 15 kg.

Questa risposta è utile?

A

No. La sdraietta reclinata non è pensata per sonni prolungati. Se il bambino deve dormire più a lungo, è meglio usare una culla o un letto adeguato.

Questa risposta è utile?

A

Sì. La barra giochi può essere applicata o rimossa secondo necessità. In modalità seggiolone, deve rimanere sempre posizionata dietro lo schienale per sicurezza.

Questa risposta è utile?

A

Il tessuto deve essere lavato solo a mano in acqua fredda. Non candeggiare, non asciugare in asciugatrice, non stirare e non lavare a secco. Controllare cuciture e condizioni del tessuto dopo il lavaggio.

Questa risposta è utile?

A

Sì. Tutte e quattro le ruote devono essere bloccate ogni volta che il prodotto è in uso per aiutare a mantenerlo stabile e ridurre il rischio di movimento o ribaltamento.

Questa risposta è utile?

A

Controllare che tutte le parti siano assemblate correttamente, che i meccanismi di bloccaggio siano inseriti, che l'imbracatura sia fissata correttamente e che nessun componente sia rotto, strappato o mancante.

Questa risposta è utile?

M: GO-GEM-FL-25

Vantaggi e Svantaggi

Vantaggi

  • Il design 4 in 1 cresce con il bambino dalla nascita fino a 36 mesi.
  • L'altezza regolabile e lo schienale reclinabile supportano diverse routine quotidiane.
  • La barra giochi rimovibile con luci e suoni aggiunge intrattenimento nelle prime fasi.
  • Le parti in tessuto e dell'imbracatura rimovibili e lavabili semplificano pulizia e cura.
VS

Svantaggi

  • I cambi di modalità richiedono un montaggio accurato da parte di un adulto e controlli di sicurezza regolari.
  • Il prodotto deve essere sempre usato con il corretto sistema di ritenuta.
  • Le modalità culla e sdraietta reclinata sono limitate a un intervallo di età relativamente breve.
  • Le batterie della barra giochi e le parti mobili richiedono manutenzione e attenzione periodiche.
M: GO-GEM-FL-25

Prodotto Specifiche

Peso

10,20kg

Dimensioni (LxAxP)

850x880-1220x600mm

Caratteristiche

regolabile in altezza, convertibile in seggiolone, funzione melodia

M: GO-GEM-FL-25

Descrizione del prodotto Descrizione

Chicco Baby Hug 4 in 1 Culla: un seggiolino intelligente per i primi tre anni

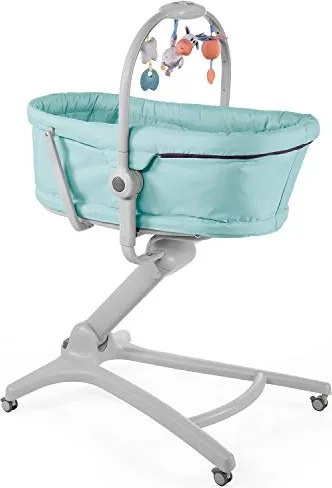
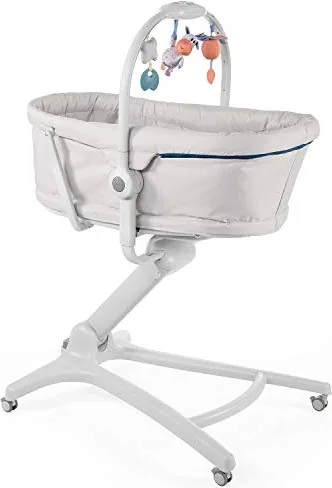
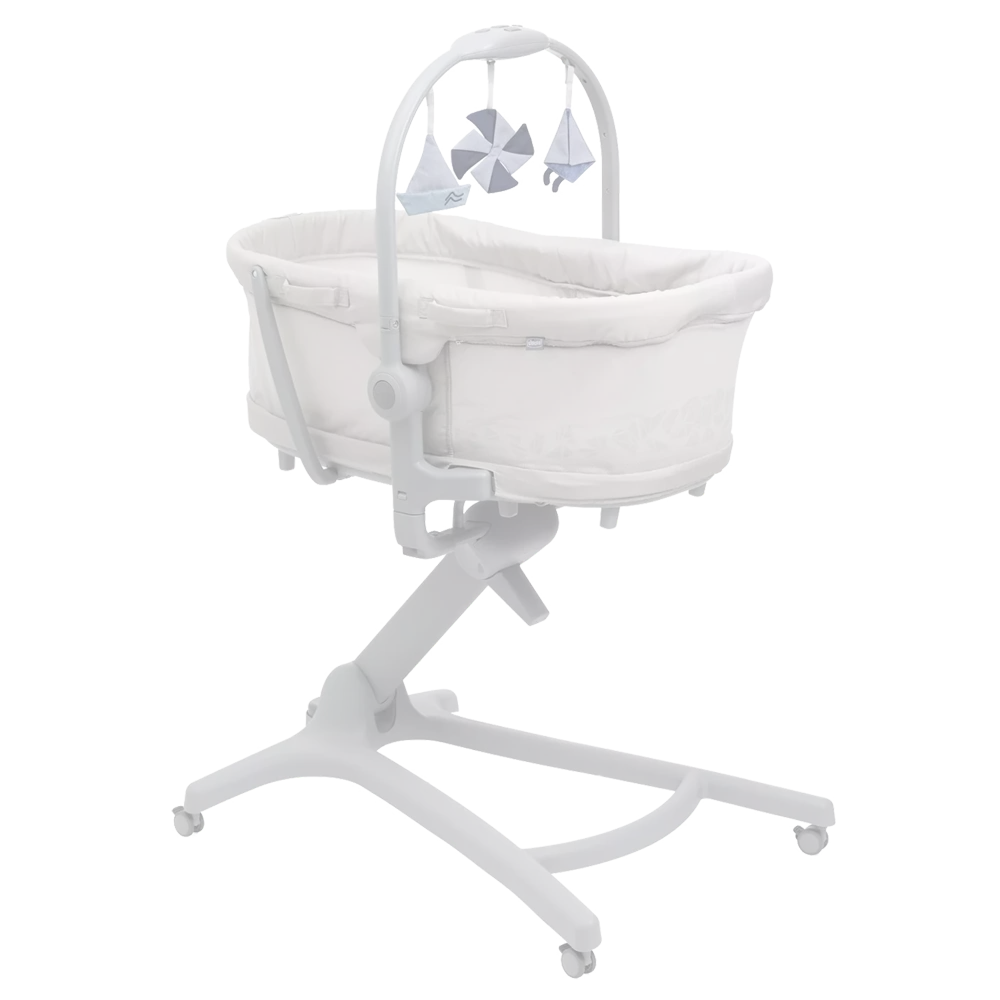
La Chicco Baby Hug 4 in 1 Culla si distingue come un compagno versatile per la cameretta, capace di accompagnare il bambino attraverso diverse fasi iniziali con sorprendente facilità. Dai primi giorni a casa fino agli anni da bambino piccolo, può funzionare come culla, sdraietta reclinata, seggiolone e prima sedia a tavola. Questa flessibilità la rende attraente per i genitori che apprezzano soluzioni compatte senza sacrificare comfort o praticità.

In modalità culla, offre uno spazio accogliente per il riposo dei neonati fino a 9 kg, mentre l'impostazione sdraietta reclinata offre alle famiglie un posto confortevole per il relax supervisionato durante i primi mesi. Più avanti, quando il bambino può stare seduto autonomamente, il prodotto si trasforma in seggiolone e prima sedia adatti ai pasti e ai momenti quotidiani in famiglia fino a 36 mesi e 15 kg. Il risultato è un unico prodotto per l'infanzia che si adatta alle routine che cambiano invece di rimanere inutilizzato dopo pochi mesi.

Il design punta anche sulla praticità. Un sistema di altezza regolabile aiuta a far coincidere il seggiolino con diversi tipi di arredo, e lo schienale può essere reclinato in più posizioni per adattarsi all'uso previsto. Una barra giochi rimovibile con luci, suoni e morbidi peluche aggiunge un tocco coinvolgente, soprattutto nelle fasi iniziali. Per molti genitori, il Manuale Chicco Baby Hug 4 in 1 Culla diventa utile in questo caso, perché spiega come passare in sicurezza da una modalità all'altra e sfruttare al meglio ogni configurazione.

Un altro punto di forza è la manutenzione quotidiana. Le parti tessili rimovibili, le cinture di sicurezza e le superfici facili da pulire la rendono più gestibile per le famiglie impegnate. Il prodotto è inoltre realizzato con una forte attenzione alla stabilità e alla supervisione, ricordando a chi si prende cura del bambino di bloccare le ruote, controllare i punti di aggancio e usare il corretto sistema di ritenuta per ogni modalità. Questi dettagli contano perché un prodotto multifunzione dovrebbe risultare sicuro tanto quanto pratico.

Note

  • Più adatta ai genitori che cercano una soluzione durevole e salvaspazio.
  • Seguire sempre con attenzione i passaggi di montaggio prima di ogni cambio di modalità.
  • Ispezioni regolari e una pulizia corretta aiutano a preservare prestazioni e aspetto.
  • La barra giochi è divertente per i bambini più piccoli, ma va rimossa quando il bambino diventa più mobile.
M: GO-GEM-FL-25

© Copyright 2026 Manual.ly